

What tools do I need for WPC Diy Decking installation?
Nov 13, 2025
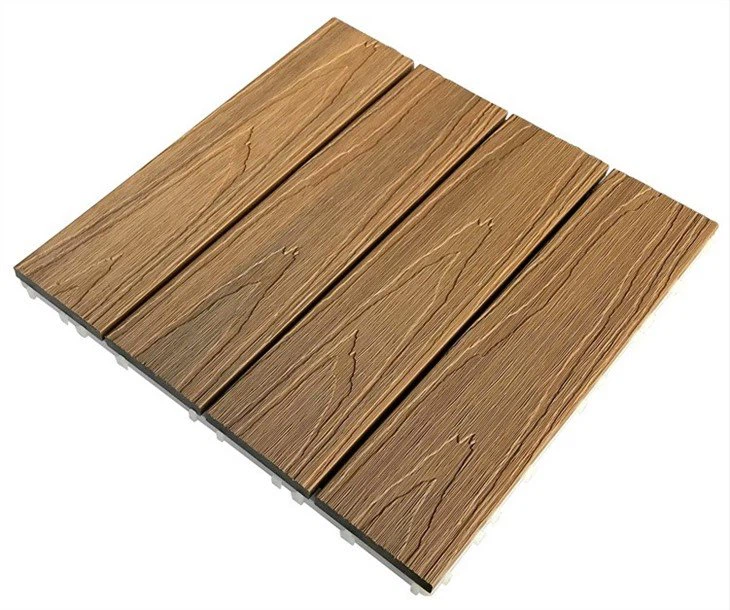
Hey there! As a supplier of WPC Diy Decking, I'm super stoked to share with you the essential tools you'll need for a smooth and successful WPC decking installation. Whether you're a DIY enthusiast looking to spruce up your backyard or a professional contractor, having the right tools can make all the difference. So, let's dive right in!
Measuring and Marking Tools
First things first, you gotta get your measurements right. A tape measure is an absolute must-have. You'll use it to measure the area where you're installing the decking, as well as the length and width of the individual WPC Diy Decking Tiles. A good-quality tape measure that's at least 25 feet long will do the trick. Make sure it's easy to read and has a locking mechanism to keep the tape in place while you're measuring.
Next up, a chalk line. This tool is great for marking straight lines on the ground or on the subfloor where you'll be laying the decking. It helps you keep your tiles in a straight row and ensures a professional-looking finish. Just fill the chalk line with colored chalk, stretch it across the area, and snap it to leave a straight line.
A carpenter's square is also handy for ensuring that your corners are square. You can use it to mark 90-degree angles when cutting the decking tiles or for checking the alignment of the subfloor. It's a simple but essential tool that can save you a lot of headaches later on.
Cutting Tools
Once you have your measurements and markings, it's time to start cutting the WPC Decking Tiles. A circular saw is a popular choice for cutting WPC decking. It's fast, efficient, and can make straight cuts with ease. Make sure you use a fine-tooth blade designed for cutting composite materials to get a clean, smooth cut.
If you need to make more precise cuts or cut curves, a jigsaw might be a better option. It's more maneuverable than a circular saw and can handle a variety of cutting tasks. Just like with the circular saw, use a blade designed for cutting composite materials to avoid chipping or splintering the decking.
For smaller cuts or trimming the edges of the tiles, a handsaw can also do the job. It's a bit slower than a power saw, but it's quieter and doesn't require electricity. A fine-tooth handsaw will give you a clean cut and is easy to control.

Fastening Tools
To secure the WPC decking tiles to the subfloor, you'll need some fastening tools. A drill is essential for making pilot holes before inserting screws or nails. It helps prevent the wood from splitting and ensures a secure fit. Make sure you use a drill bit that's the right size for the screws or nails you're using.
Screwdrivers are also a must-have. You'll need both a Phillips-head and a flat-head screwdriver for different types of screws. A power screwdriver can make the job go much faster, especially if you're installing a large area of decking.
If you're using nails to fasten the decking, a nail gun is a great tool to have. It's much faster than using a hammer and can drive nails into the wood with ease. Make sure you use a nail gun that's compatible with the type of nails you're using and follow all safety precautions.
Safety Tools
Safety should always be your top priority when working on any DIY project. A pair of safety glasses will protect your eyes from flying debris when cutting or drilling the decking. Ear protection is also important if you're using power tools, as they can be very loud and cause hearing damage over time.
Gloves are a good idea to protect your hands from splinters, cuts, and chemicals. Choose gloves that are comfortable to wear and provide a good grip. A dust mask is also recommended to prevent you from inhaling dust and debris when cutting the decking.
Other Tools
In addition to the tools mentioned above, there are a few other tools that can come in handy during the installation process. A level is important for ensuring that the decking is flat and even. You can use it to check the subfloor before laying the tiles and to make sure the tiles are level as you're installing them.
A pry bar can be useful for removing old decking or for adjusting the position of the tiles if they're not fitting properly. A rubber mallet can also be used to gently tap the tiles into place and ensure a tight fit.
Conclusion
So, there you have it! These are the essential tools you'll need for a successful WPC Diy Decking installation. Having the right tools not only makes the job easier and faster but also ensures a professional-looking finish. Remember to always follow the manufacturer's instructions and safety precautions when using any tools.
If you're interested in purchasing Wood Plastic Composite Decking Tiles or have any questions about the installation process, feel free to reach out. We're here to help you every step of the way. Let's turn your backyard into a beautiful outdoor living space!
References
- "DIY Decking Installation Guide" - Home Improvement Magazine
- "WPC Decking: A Comprehensive Guide" - Composite Materials Journal