How to install WPC Fluted Wall Panel on a metal frame?
Oct 06, 2025
Installing WPC fluted wall panels on a metal frame is a practical and aesthetically pleasing way to enhance the interior of your space. As a trusted WPC fluted wall panel supplier, I'm here to guide you through the step - by - step process to ensure a successful installation.
Understanding WPC Fluted Wall Panels
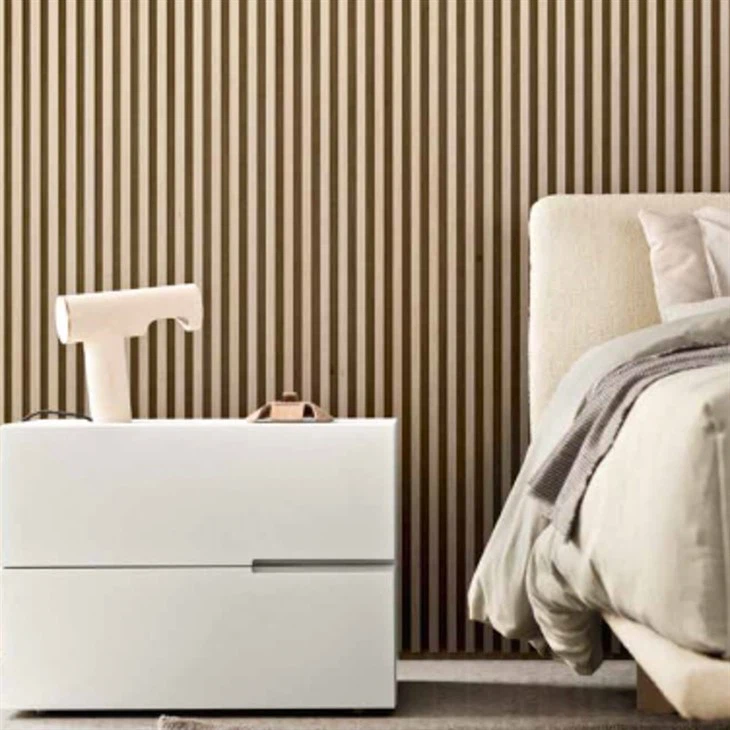
WPC, or Wood - Plastic Composite, fluted wall panels are a popular choice for interior decoration. They combine the natural look of wood with the durability and low - maintenance properties of plastic. The fluted design adds a unique texture and visual interest to the walls. These panels are available in various colors, sizes, and patterns, making them suitable for a wide range of interior styles. You can explore our diverse collection of Indoor Wpc Wall Panel and WPC Wall Panel Decorative options.
Necessary Tools and Materials
Before you start the installation process, gather all the necessary tools and materials:

- Tools: Measuring tape, level, drill, screwdriver, jigsaw, utility knife, chalk line.
- Materials: WPC fluted wall panels, metal framing system (including vertical studs and horizontal tracks), screws, wall anchors (if required), adhesive (optional).
Step 1: Prepare the Wall
The first step is to prepare the wall surface. Ensure that the wall is clean, dry, and free from any debris, paint, or wallpaper. Use a level to check if the wall is straight. If there are any uneven areas, you may need to use a plaster or filler to level them out.
Step 2: Install the Metal Frame
- Mark the Layout: Use a measuring tape and chalk line to mark the layout of the metal frame on the wall. The vertical studs should be spaced at regular intervals, typically 16 inches or 24 inches on center. This spacing will depend on the size and weight of the WPC panels.
- Install the Horizontal Tracks: Start by installing the horizontal tracks at the top and bottom of the marked layout. Use a drill and screws to secure the tracks to the wall. Make sure the tracks are level using a level tool.
- Install the Vertical Studs: Cut the vertical studs to the appropriate length and insert them into the horizontal tracks. Secure the studs to the tracks using screws. Ensure that the studs are plumb (perfectly vertical) using a level.
Step 3: Measure and Cut the WPC Panels
- Measure the Wall Area: Measure the height and width of the wall area where the panels will be installed. Take into account any doors, windows, or other obstacles.
- Cut the Panels: Use a jigsaw or a circular saw to cut the WPC panels to the required size. When cutting, make sure to wear appropriate safety gear, such as goggles and a dust mask. You can also use a utility knife for minor trimming.
Step 4: Install the WPC Fluted Wall Panels
- Start at the Bottom: Begin installing the panels at the bottom of the wall. Position the first panel against the metal frame and align it with the chalk line. Use a drill and screws to secure the panel to the vertical studs. Make sure the screws are flush with the surface of the panel.
- Continue Installation: Install the remaining panels one by one, ensuring that they are tightly butted together. Use a level to check the alignment of each panel as you go. If there are any gaps between the panels, you can use a small amount of adhesive to fill them.
- Trim and Fit Around Obstacles: When you reach a door, window, or other obstacle, measure and cut the panels to fit around them. Use a jigsaw to make precise cuts.
Step 5: Finish the Installation
- Check for Alignment: Once all the panels are installed, check for any misalignments or unevenness. Use a level to ensure that the panels are straight and level.
- Fill the Screw Holes: If desired, you can use a wood filler or putty to fill the screw holes. Sand the filled areas smooth once the filler has dried.
- Clean the Panels: Wipe down the panels with a clean, damp cloth to remove any dust or debris from the installation process.
Advantages of Using WPC Fluted Wall Panels on a Metal Frame
- Durability: WPC panels are resistant to moisture, rot, and insects, making them a long - lasting choice for interior walls. The metal frame provides additional strength and stability.
- Easy Maintenance: These panels are easy to clean and maintain. Simply wipe them down with a damp cloth to keep them looking new.
- Aesthetic Appeal: The fluted design of the panels adds a unique and stylish look to any interior space. You can choose from a variety of colors and patterns to match your decor.
- Cost - Effective: Compared to traditional wood or stone wall cladding, WPC fluted wall panels are more cost - effective, both in terms of material and installation.
Tips for a Successful Installation
- Plan Ahead: Take your time to plan the installation process carefully. Measure twice and cut once to avoid costly mistakes.
- Use the Right Tools: Using the correct tools for the job will ensure a more precise and efficient installation.
- Follow Safety Precautions: Always wear appropriate safety gear, such as goggles, gloves, and a dust mask, when working with power tools and cutting materials.
Conclusion
Installing WPC fluted wall panels on a metal frame is a relatively straightforward process that can transform the look of your interior space. By following the steps outlined in this guide, you can achieve a professional - looking installation. At our company, we are committed to providing high - quality Interior WPC Wall Cladding products. If you have any questions or are interested in purchasing our WPC fluted wall panels, please feel free to contact us for a detailed discussion and procurement negotiation. We look forward to serving you and helping you create the perfect interior environment.
References
- "Handbook of Wood - Plastic Composites" by Sreekala, M. S., & Thomas, S.
- "Building Construction Handbook" by Frank Ching.